Step by Step Wax Melts DIY Instructions - DRAFT
Step 1 :
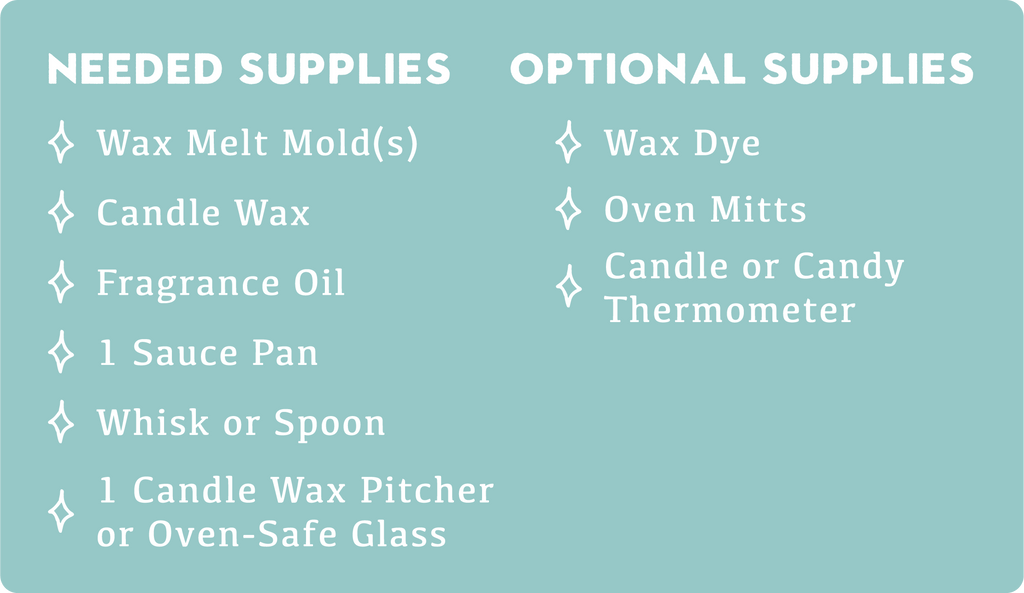
Gather your supplies.

Step 2:
Measure out your ingredients. Using the conversion chart, measure out your wax, fragrance oil and wicks depending on how much your vessel can hold and how many candles you are making. Measure out wax dye if you are coloring your candles.

Step 3:
Fill sauce pan with enough water to submerge ¼ of your wax pouring pitcher and place on stovetop. Turn the stove to medium heat.

Step 4:
Fill pitcher with wax. Gently place wax-filled pitcher into water. Heat wax until it reaches 175℉. Wax should fully liquify.
Step 5:
Remove sauce pan from heat. Add in fragrance oil and wax dye if you are coloring your wax. Stir or whisk until additions are evenly dispersed in wax.

Step 6:
Place wax melt mold(s) onto a flat, heat-resistant surface. Carefully pour wax into wax melt mold(s) and up to the rim.

Step 7:
Let wax cool at room temperature for at least 24 hours. Clean supplies & workspace with dish soap and warm water.Step 8:
If using a silicone mold, after melts have fully cooled remove from mold and place in a container. Apply warning labels and any decorative labels.

Wax Mold Tips:
- Use reusable silicone molds as an alternative. Melts can be easily popped out and placed in a container.
- If using a reusable mold, make sure it is cleaned before each use, using dish soap and warm water.
- Depending on your mold size, you can use a funnel or an eye dropper to fill your wax mold.
- Use dish soap and warm water to clean your workspace and supplies.
- To test the color of your wax, drip a small amount onto wax paper and allow wax to harden. Wax color lightens considerably as it cools.
- Use a thermometer to monitor the temperature of the melting wax.
- Let wax melt(s) cool in a draft-free environment for best results.
- To remove melts from a plastic mold, apply pressure to middle of the mold to crack wax. Push back of tray to release melts from mold.
- Use a cleaned out candle with a lid to store your wax melts!
- You can clean your warmer dish by placing it in the freezer. The wax should shrink and pop out easily from the dish.

